WEEK 1 | WEEK 2 | WEEK 3 | WEEK 4 | WEEK 5/6 |WEEK 7
Holy cow has it really been 8 weeks already! It’s finally time for the reveal of my One Room Challenge project: the bridge and new beach area, but first let’s recap what has happened over here the past 8 weeks because its A LOT.
This project chosen out of necessity as the bridge to our house was getting to a point it was unsafe to drive over every day so I decided to put the kitchen on hold (again,) and make the most of this project. In the last 8 weeks we have: demoed a bridge, made a temporary log bridge, made a path and cleared a space along the creek for a beach, got attached by blackberry bushes while doing this, built a beach hut, built Adirondack chairs, oh yeah and decided to do a floating bar because no beach is complete without a bar.

The Beach Before 
The Beach After
It was a ton of work and I am thankful my husband was happy to do all the tractor work and help with the heavy lifting. The girls also put in a few hours on this project so while it kept me pretty busy it was also great family time, and it has resulted in a space that we are going to spend SO MANY hours as a family this summer. So without further ado here is my new favorite place on the property.


When we started this the beach was all of a 2’ x 5’ area that the rain had washed out last year, but there was no way to access the beach from land due to the overgrown blackberry bushes. So we had to clear a trail and the whole space up to the water. Once we had the space cleared I constructed a beach hut that come winter time we can remove.

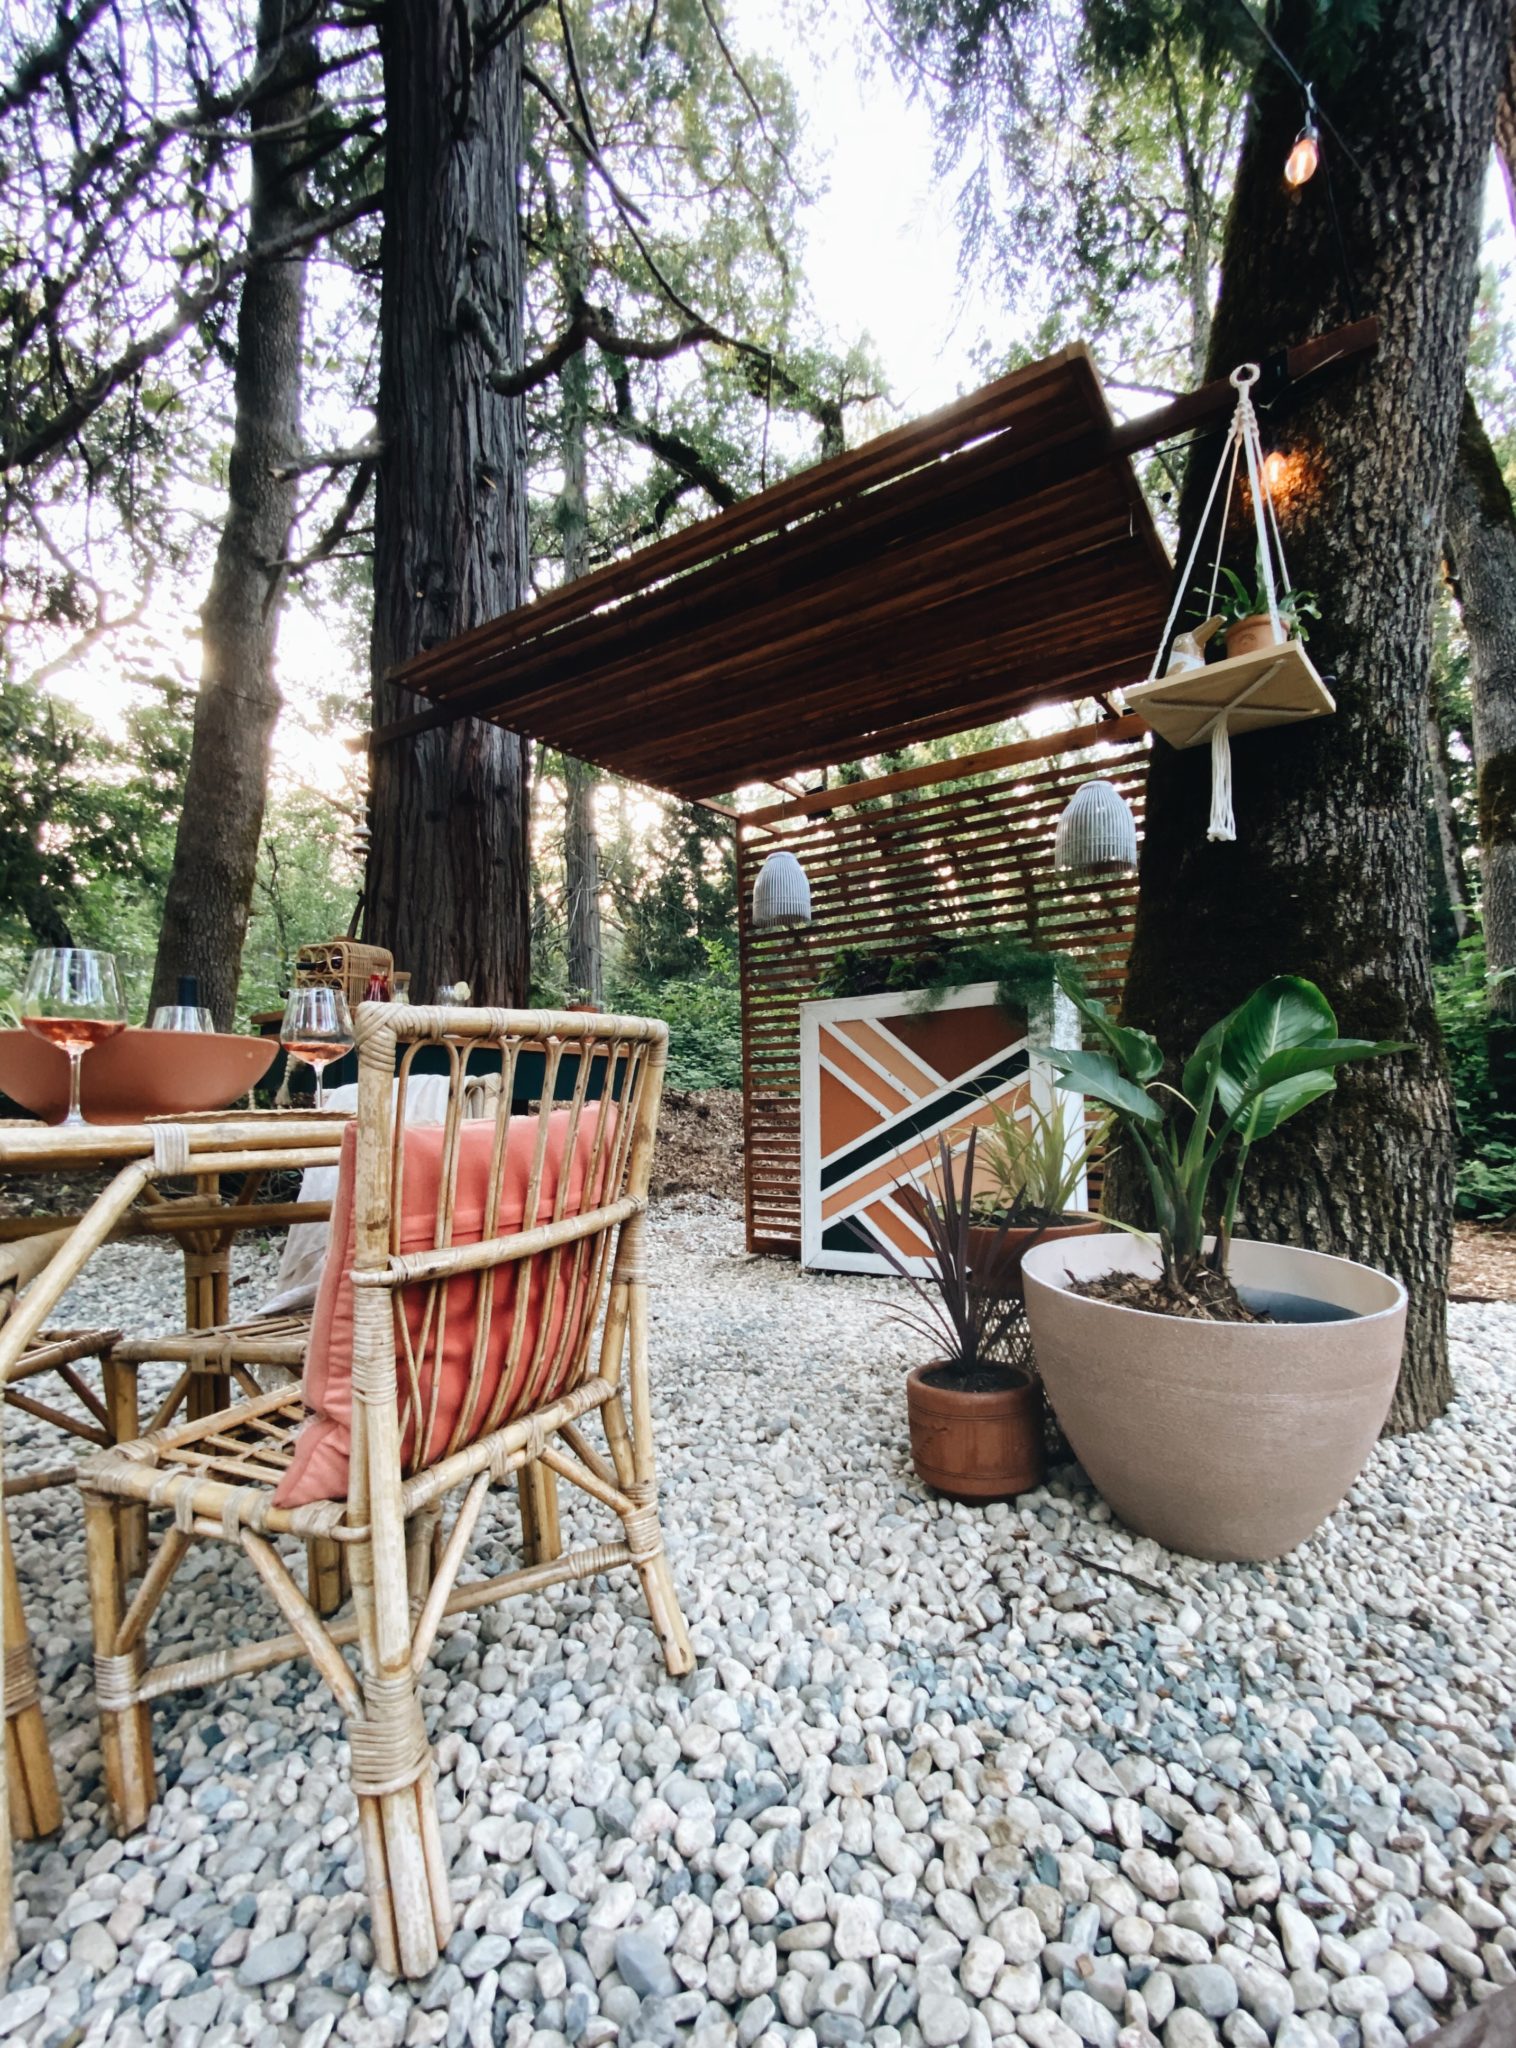
The girls and I gave an old planter box I had built a couple of years ago which will double as storage for trash cans a facelift using the extra paint samples from the beach chairs. I also took an old rattan light fixture I have been hoarding for two years and freshened up the shades with solar light kits and hung them in the hut.


As soon as I got the hut up I knew that something was missing, we really needed a bar. I had a few different ideas but ultimately the space made the final design decision. The hut was built off two trees one oak and one cedar tree and the cedar tree was just asking to be a bar. I mentioned to Glenn that I wanted to add a bar and he kinda chuckled and just told me to finish the rest of the projects first. Well, he had to work the next day so I woke up, sketched out a bar, and got to it. This was the least planned out build of the project and I had to figure some of the design out as I went. I am so happy with how it turned out, and I can’t wait to have a glass of wine and some good conversations around it.

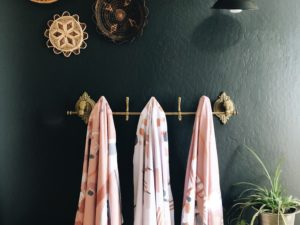
Earlier in the project, I designed towels and pillow specifically for this space so I decided to build a special towel rack so that the kids have a place to keep their towels dry and not sandy, I also threw together a quick little shoe rack for all of our sandals while we are down at the beach and playing in the sand. If you want your own towels or pillows you can find them here.

If you have been following this challenge you have likely seen the Adirondack chairs I built and if you are interested I have put together a full tutorial on how to build your own here. I then painted them in Benjamin Moore Sienna Clay. I still plan to make another set of four for my front yard, but one project at a time.

Before 
After


This was a huge project and the one part of this project I definitely hired out for. Our old bridge had a ton of charm, but it was not charming when you drove over it and your car had a little bounce. We kept the concrete pillars, but other than that every part of this bridge is brand new, and we should not have to touch it for many years to come. I am in love with the modern rail system that they welded up for us. Also one of the perks of using steel beams under the bridge was that I could install hooks to hang hammock chairs over the water. It is such a relaxing space with the sound of the running water, and it is quite easy to take a little snooze while lounging in the hanging chairs.

There was one project I was going to try to fit in but decided I don’t want to rush it, but soon we will be adding an outdoor shower area to the mix because all that beach sand needs to stay out of my house. Stay tuned for that project.
I am beyond happy that I choose to participate in this One Room Challenge, I met so many amazing designers (go check out their reveals) and found so much inspiration. A tiny part of me is sad its over, but I am also looking forward to taking a weekend off working on projects to enjoy this space. I will be back in the Fall and already have ideas brewing, but in the meantime, if you cant find me behind my saw or sander I will likely be lounging on the beach. Thank you so much One Room Challenge and Better Home and Gardens for putting on this event, it was just what I needed with everything going on in our world.

Source List:
A majority of this project came from things I built but I did mix in a few vintage items as well as some great finishing pieces which I have included below.


Marcie Millholland
• 5 years agoThis is PARADISE!!!! I am in awe of every detail but I would never get out of those hanging chairs under the bridge!! I’m going to be scrolling through your pictures many, many times to absorb all of the perfect details!!
Julia@Cuckoo4Design
• 5 years agoThis is so cool! I love it and showed it to my entire family. We live close to the river and hang out down there all the time. Wish it was our property so we could do something like this.
Lizzie @ Emmerson & Fifteenth
• 5 years agoI freaking love everything about your space (beach)! You totally killed this One Room Challenge, and you must be stoked to have such a cute spot to hang in!
nicolewright
• 5 years agoLizzie, Thank you so much it was such a fun project and we are getting so much use out of the space.
Brenda
• 5 years agoThe hanging hammock chairs… brilliant!
nicolewright
• 5 years agoThey are so comfy too!